
There are two approaches that can be used. Storyboard localization for elements set-up on the storyboard which tend to be static. Labels for example. The other approach is more dynamic using NSLocalizedString.
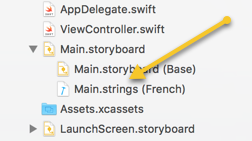
You can selecte which storyboard to localize.

Notice that the storyboard selected have additional items in the Project Navigator
Inside the localized file there are a series of comment-code lines for each UI element to be localized. The
/* Class = "UILabel"; text = "A New Heading"; ObjectID = "hva-ie-Tgq"; */
"hva-ie-Tgq.text" = "A New Heading";
The text inside quotes on the ledt side is the string ID. On the right side, inside the quotes is the text that can be changed to the language selected. The text in the original language is shown in quote in the first, comment line. After you determine the correct translation replace the text on the right hand side, second line. A couple of web resources for the translation include:
Here ""A New Heading" becomes "Une nouvelle rubrique". You might do the reverse translation to test the answer or ask a native speaker.
/* Class = "UILabel"; text = "A New Heading"; ObjectID = "hva-ie-Tgq"; */
"hva-ie-Tgq.text" = "Une nouvelle rubrique";
If you add another UI element, such as a label you can take the Object ID from the Identity Inspector.
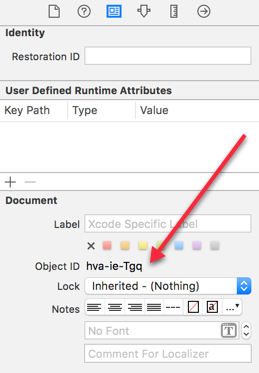
Add two new lines and edit the Object ID in the comment line.
/* Class = "UILabel"; text = "A New Heading"; ObjectID = "hva-ie-Tgq"; */
"hva-ie-Tgq.text" = "Une nouvelle rubrique";

/* Class = "UILabel"; text = "Another Heading"; ObjectID = "j2l-3E-g9O"; */
"j2l-3E-g9O.text" = "Une autre rubrique";
Alternately go back to the Project-Target list and delete the language and re-add it. This will delete all the previous work so adding items is probably the easier method.
//  mainLabel.text = "Unpaired t test"
    mainLabel.text = NSLocalizedString("UnpairedTTest", comment: "The main heading")
The first string is a key that is replaced by the text in the language specified. Make this change for all the text fields in the app. This could be across any number of files. The terminal program genstrings is used to create the localized files. Open the terminal app and change directory to the folder containing the .swift files for the app. Enter the genstrings command followed by *swift.
cd xxxx

MyDirectory$ ls
AppDelegate.swift		ObjCBits.m
Assets.xcassets			ViewController.swift
Base.lproj			fr.lproj
Info.plist			nl.lproj
ObjCBits.h			tValue-Bridging-Header.h

MyDirectory$ genstrings *swift

MyDirectory$ ls
AppDelegate.swift		ObjCBits.m
Assets.xcassets			ViewController.swift
Base.lproj			fr.lproj
Info.plist			nl.lproj
Localizable.strings		tValue-Bridging-Header.h
ObjCBits.h
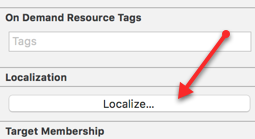
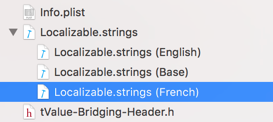
Note the new file: Localizable.strings. Add this file to the project. Select this file in the Project Navigator (left column) and select the File Inspector in the right hand column and click on Localize...
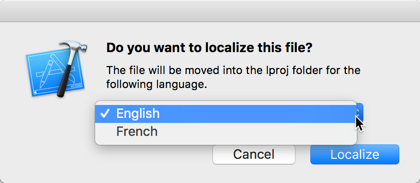
Choose the English or Base language
You can now select from the languages that were added to the Project previously from Project > Info > Localizations
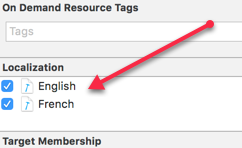
We now have localized strings for the base language and any additional languages, such as French.
Looking at this file we see information for the localized string.
/* The main heading */
"UnpairedTTest" = "UnpairedTTest";
The string on the right can be replaced with the French translation "Test t non apparié" to give these lines in this localization file.
/* The main heading */
"UnpairedTTest" = "Test t non apparié";
let currencyFormatter = NumberFormatter()
currencyFormatter.numberStyle = .currency

money.text = currencyFormatter.string(from: NSNumber(value: money))
Localized currency can be tested by changing the Region in the Settings > General > Language & Region.